Gmail Airtable Integration: How to Get Started Step by Step

14
Email is where most work begins. Client requests, team updates, approvals, and deadlines often arrive in your inbox before they land anywhere else. Airtable, on the other hand, is where that work is usually organized, tracked, and shared. The challenge is that these two tools don’t naturally connect.
When important information gets stuck in Gmail, it’s easy for tasks to slip through or get delayed. Manually copying messages into Airtable wastes time and increases the risk of missing details. Gmail Airtable integration helps solve this by automatically moving relevant email content into your workspace, keeping your communication and tracking systems aligned.
Whether you're managing projects, running a lightweight CRM, or handling inbound requests, this integration helps reduce friction between how work shows up and where it gets managed.
In this guide, you’ll learn how to connect Gmail and Airtable using automation tools like Zapier, Make, and Relay.app. We’ll cover what kinds of workflows are possible, how to set them up, and where they can make the biggest impact in your day-to-day work.
Key Takeaways
Gmail Airtable integration lets you automatically move email data into structured tables, reducing manual copy paste work.
There is no native Gmail and Airtable connection, so third party tools like Zapier, Make, Relay.app, and n8n are required.
Zapier is best for simple, beginner friendly Gmail Airtable integration workflows, such as logging labeled emails.
Make offers advanced control for multi step workflows, filters, and conditional logic.
Common Gmail Airtable integration use cases include client onboarding, editorial pipelines, approvals, and follow ups.
All Gmail Airtable integrations rely on triggers and actions, where Gmail events create or update Airtable records.
Limitations include formatting issues, attachment handling, and automation limits on free plans, which should be considered during setup.
Starting with one focused Gmail Airtable integration workflow helps you build a reliable system before expanding.
What Is Gmail Airtable Integration?
Gmail Airtable integration connects the two platforms through automation, allowing specific actions in Gmail to trigger updates in Airtable, and vice versa. The goal is to eliminate manual steps and make sure important information moves from your inbox into your workspace automatically.
Here’s what you can automate:
Logging Gmail messages into Airtable as new records
Creating or updating records based on incoming emails
Sending Gmail replies or follow-ups when something changes in Airtable
There’s no direct native integration between Gmail and Airtable, which is why most workflows are built using third-party automation platforms such as:
Zapier
Make (formerly Integromat)
IFTTT
n8n (for advanced or self-hosted setups)
Each of these tools follows a simple logic:
A trigger starts the workflow (like receiving a labeled email)
An action follows (such as creating a record in Airtable or sending an email)
With the right setup, this integration turns scattered messages into structured data and helps teams stay organized without manual copy-paste work. So how does the automation process work behind the scenes? It all comes down to triggers and actions.
How Gmail Airtable Integration Works
Every Gmail Airtable integration is built around a simple framework: triggers and actions. These are the two parts that define how information moves between the tools.
A trigger is the event that starts the automation. For Gmail, this might be:
A new email arrives
A specific label is applied to an email
An email is received from a certain address or domain
An action is what happens in response. In Airtable, common actions include:
Creating a new record in a specific table
Updating an existing record based on matched criteria
Searching for a record and performing a follow-up action
For example, you can set up a workflow where every email labeled "To Review" in Gmail automatically creates a new record in your Airtable task table. That record might include the sender’s address, subject line, message body, and the time the email was received.
You can also set things up the other way. A change in Airtable, such as a status field updated to "Ready to Send", can trigger an email to go out from your Gmail account with predefined content.
Automation tools often allow you to customize these workflows further by adding filters, conditions, and formatting rules. This gives you control over exactly when and how information moves between platforms.
Understanding this basic trigger and action model is the first step toward building a system that works the way you need it to. With that foundation in place, let’s look at how to set up your first integration using one of the most popular tools.
Also read: How to Connect Google Calendar to Slack (Step-by-Step Guide)
Gmail Airtable Integration with Zapier (Beginner-Friendly Setup)
Zapier is one of the most popular tools for setting up Gmail and Airtable automations without code. It connects thousands of apps through simple logic: when something happens in one app, do something in another.
To create your first Gmail–Airtable workflow with Zapier, you’ll need:
A free or paid Zapier account
Access to the Gmail account where emails are received
An Airtable base and table to store or update records
Step-by-Step Setup
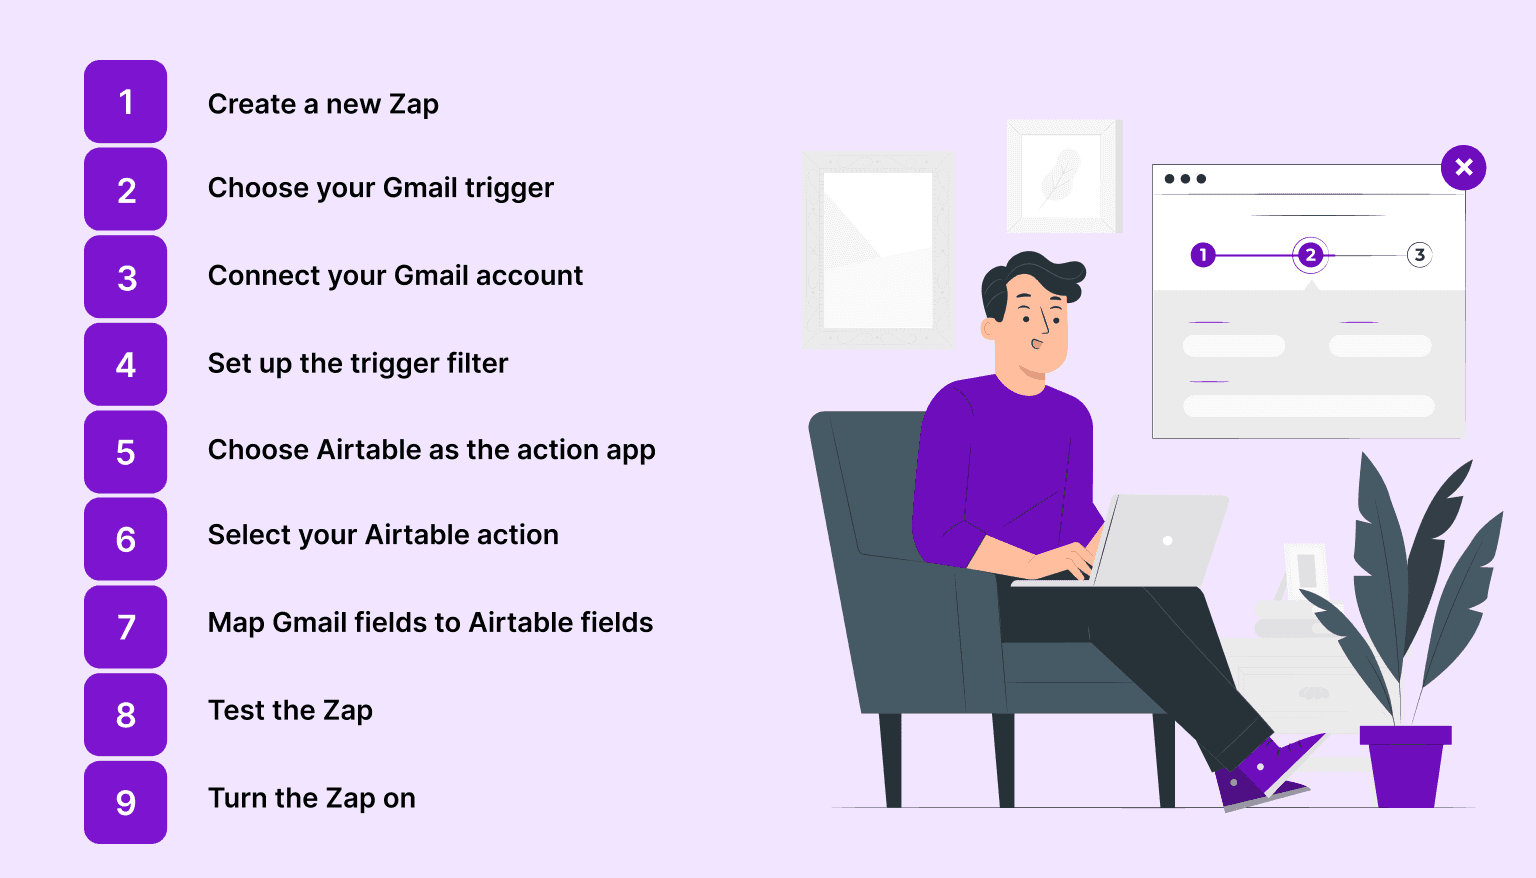
Create a new Zap
In Zapier, start a new Zap and choose Gmail as the trigger app.
Choose your Gmail trigger
Select the Gmail event that should start the workflow. Common options include:
New email matching a search string
New labeled email
Starred email
Connect your Gmail account
Log in and allow Zapier access to read emails. You can restrict this to specific labels or filters.
Set up the trigger filter
You can define rules so only certain emails trigger the automation (for example, only emails from a specific domain or with a certain subject line).
Choose Airtable as the action app
Set Airtable as the destination where the data will go.
Select your Airtable action
Common actions include:
Create record
Update record
Find and update record
Map Gmail fields to Airtable fields
This is where you match the email data to your Airtable columns. For instance:
Sender → Contact Email
Subject → Task Name
Body → Notes
Test the Zap
Zapier will fetch a sample email and try to create a record in Airtable. You can check the output and make changes if needed.
Turn the Zap on
Once it works the way you want, activate the Zap and let it run automatically in the background
Pro Tips
Use Gmail labels like "To Airtable" or "Log This" to manually trigger the workflow only when needed
Create a dedicated table in Airtable just for logged emails or inbound tasks
Add a timestamp field in Airtable using Zapier’s "Current Time" option if you want to track when the email was received
Zapier is best for straightforward, single-direction automations where you need to move data from Gmail into Airtable or vice versa with minimal setup. While Zapier works well for most simple workflows, some setups call for more flexibility. That’s where Make comes in.
Gmail Airtable Integration with Make (Advanced Control)
Make, formerly known as Integromat, is a visual automation platform that gives you more flexibility than Zapier. It’s well suited for workflows that require multiple steps, branching logic, or more detailed control over how data is handled between Gmail and Airtable.
Unlike Zapier, which is linear and simple, Make uses a visual scenario builder where you can connect apps, set conditions, loop over data, and manage complex sequences.
What You’ll Need
A Make account
Connected Gmail and Airtable accounts
An Airtable base with the necessary fields set up
Your Airtable API token (available from your Airtable account settings)
Step-by-Step Setup
Create a new scenario
In Make, start a new scenario and add Gmail as the first module.
Choose a Gmail trigger
Select a trigger like:
Watch emails
Watch labeled emails
Watch threads
Set filter criteria (optional)
You can define filters by sender, subject, label, or date to narrow the scope.
Add an Airtable module
Next, connect Airtable and choose an action such as:
Create record
Update record
Search and update
Map Gmail data to Airtable fields
Use Make’s drag-and-drop interface to send values like:
From → Email field
Subject → Title or task name
Snippet or full body → Notes or description
Add additional steps if needed
You can add conditions, format data, delay actions, or send another email after a record is created. This is where Make shines for more involved workflows.
Run a test
Execute the scenario with sample data to make sure everything is working as expected.
Schedule the scenario
Set it to run on a schedule, or in real time, depending on your needs.
When to Use Make Instead of Zapier
You need multi-step workflows with conditional logic
You want to search and update records in the same flow
You’re working with multiple Gmail accounts or Airtable bases
You prefer a visual builder to manage complex logic
Make is ideal if your Gmail Airtable integration involves more than just copying one message to one record. It gives you the control to customize every part of the process. If Zapier and Make aren’t the right fit, there are a few other tools worth considering depending on your needs and technical comfort.
Also read: Top Calendar and Task Apps to Use in 2026
Other Tools for Gmail Airtable Integration
While Zapier and Make are the most popular options for connecting Gmail and Airtable, there are several other tools worth considering depending on your preferences, technical skill level, and workflow needs.
Relay.app
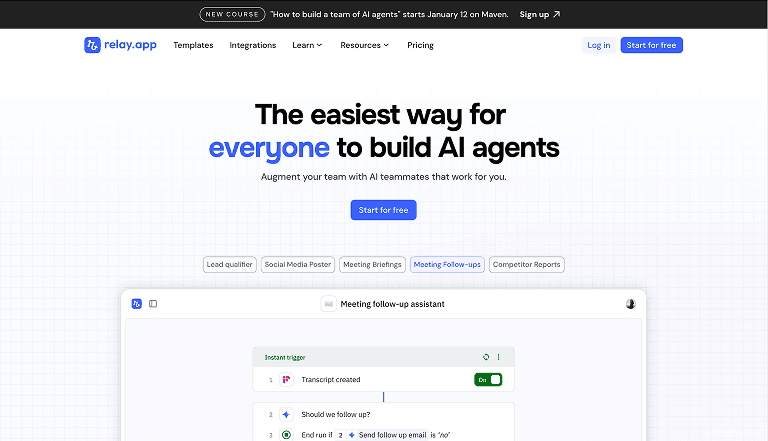
Relay.app is designed for professionals who want quick, no-code workflows between modern tools. It offers a clean interface and simple setup, similar to Zapier but with a focus on speed and minimal configuration.
Best for:
Quickly routing labeled Gmail messages into Airtable
Teams that want to avoid complexity
Lightweight, single-step automations
Relay.app handles basic Gmail–Airtable flows well, especially for use cases like capturing leads, logging tasks, or tracking replies without needing custom logic.
IFTTT

IFTTT (If This Then That) is one of the original automation platforms. While it’s more limited compared to Zapier or Make, it works well for very simple workflows.
Best for:
Basic one-step automations
Personal use or non-business-critical workflows
Automating quick actions like saving an email to Airtable
IFTTT's integrations may not support detailed field mapping or advanced triggers, but it’s easy to set up and completely no-code.
n8n
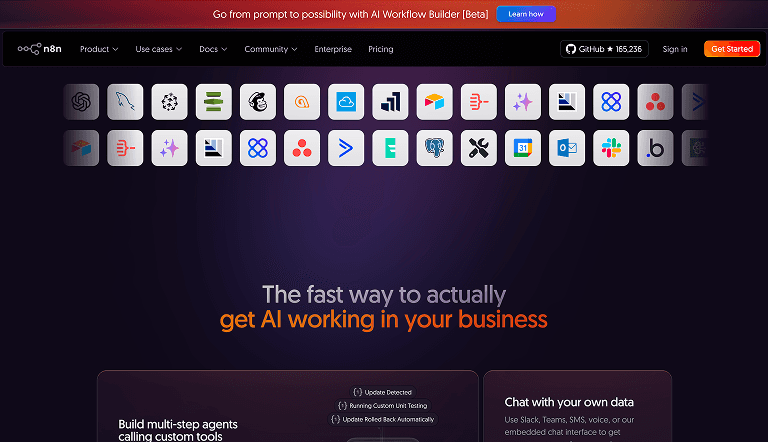
n8n is an open-source automation tool with powerful capabilities. It’s self-hosted by default, which makes it ideal for teams that need control over their data and infrastructure.
Best for:
Developers or technical users
Custom, multi-step workflows
Self-hosted environments or data-sensitive use cases
n8n supports both Gmail and Airtable integrations with flexible logic and a flow-based editor. You can build complex workflows similar to Make, but with full control over hosting and data privacy.
Each of these tools has its strengths. If your needs are simple, Relay.app or IFTTT might be enough. If you need more customization or want to control every part of the process, n8n is worth exploring.
Step-by-Step Gmail Airtable Integration Example
Let’s walk through a practical example that shows how this integration works in a real-world scenario.
Goal: Automatically log specific Gmail messages into an Airtable base by applying a label in Gmail. This is useful for tracking client emails, support requests, or follow-ups without manual copy-paste.
Setup Overview: We’ll use Zapier for this example, but the same concept applies in Make or Relay.app.
Step 1: Create a Gmail Label
In your Gmail inbox, create a new label called something like “Log to Airtable.” You’ll use this label to manually mark which emails should be sent to Airtable.
Step 2: Set Up the Trigger in Zapier
Create a new Zap and choose Gmail as the trigger app
Select “New Labeled Email” as the trigger event
Connect your Gmail account
Choose the label you just created
Step 3: Set Airtable as the Action
Choose Airtable as the action app
Select “Create Record” as the action event
Connect your Airtable account and select the correct base and table
Step 4: Map Gmail Data to Airtable Fields
Map the Sender's email to the contact field
Use the Subject line as the task name or title
Insert the email body into a notes or description field
(Optional) Add a timestamp using Zapier’s “Current Time” field
Step 5: Test and Activate
Run a test with a sample email
Check that the new Airtable record looks correct
Turn the Zap on to make it live
Result
Now, every time you apply the “Log to Airtable” label in Gmail, a new record is automatically created in Airtable with the relevant email data. This gives you a searchable, structured way to track emails alongside the rest of your work.
This kind of setup works well for managing inquiries, leads, editorial submissions, or any workflow where emails are the starting point.
Best Practices for Gmail Airtable Integration
Once your Gmail–Airtable integration is live, maintaining its reliability and usefulness comes down to setting quality and day-to-day habits. Here are a few practical ways to get the most out of your workflows.
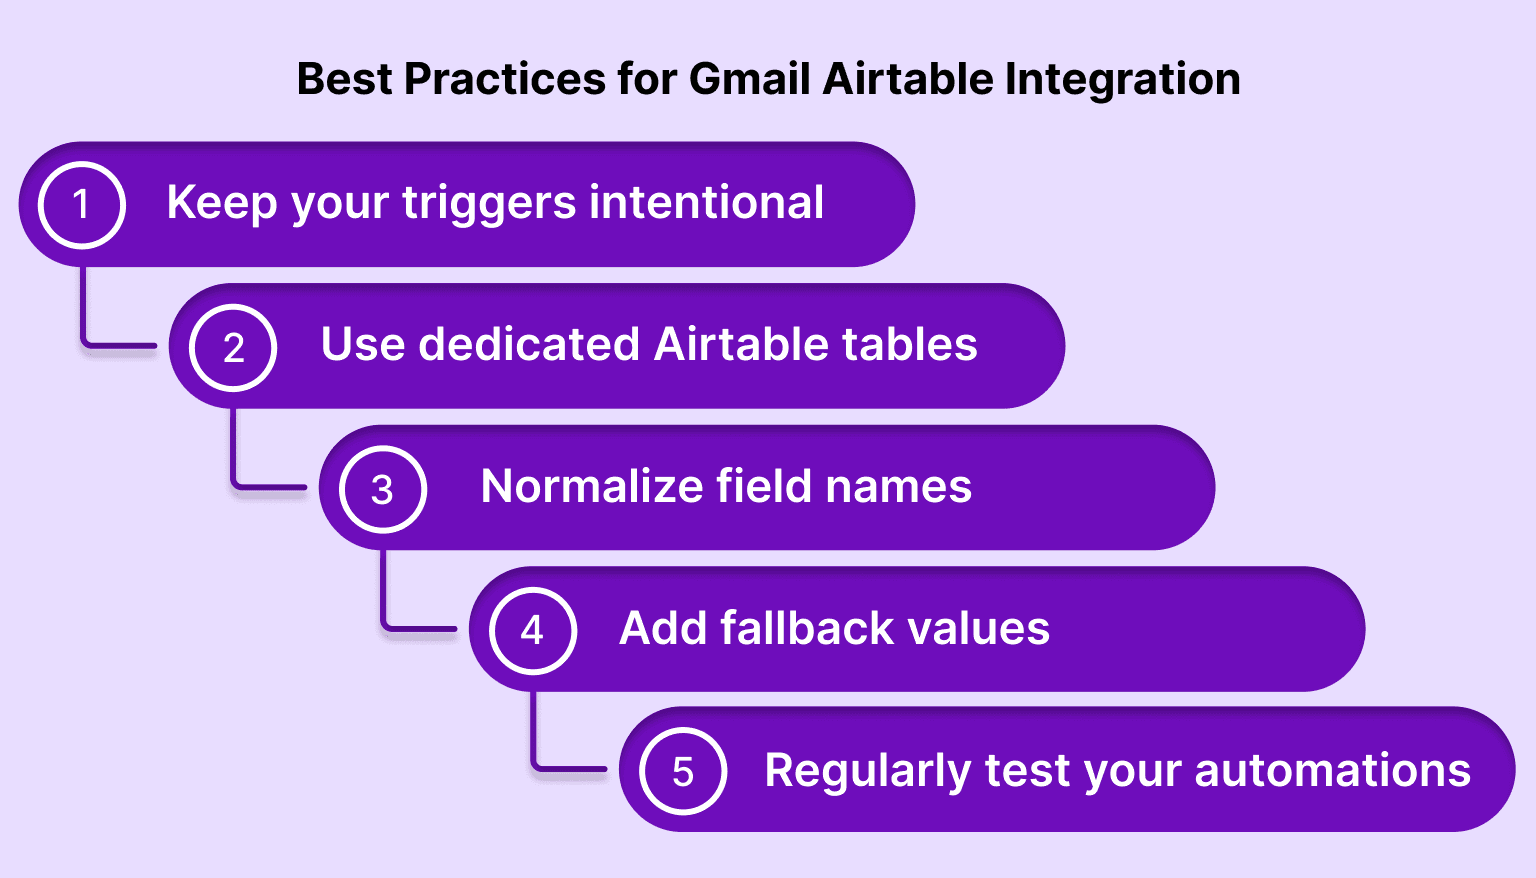
Keep your triggers intentional: Avoid overly broad triggers like “any new email.” Use Gmail labels, filters, or search-based triggers to ensure that only relevant messages kick off automation. This keeps your Airtable base from getting cluttered with low-value data.
Use dedicated Airtable tables for automation inputs: If you're logging emails or creating tasks from Gmail, consider setting up a separate table just for that purpose. It helps keep things clean and makes it easier to review or audit what your automation is capturing.
Normalize field names and data types: Make sure your Airtable fields are clearly named and typed. For example, use a date field for timestamps, single-line text for subject lines, and long text for message bodies. Clean structure on the Airtable side reduces the chance of errors during automation.
Add fallback values in automation tools: Not every email will have a subject line or consistent sender format. In tools like Zapier or Make, you can set fallback values for fields. This prevents failed runs when data is missing.
Regularly test your automations: Check your automation logs periodically. Gmail filters may change, Airtable fields might be renamed, or API connections could expire. Running a manual test every few weeks can help catch issues before they disrupt your workflow.
With a solid setup and some guardrails in place, here are a few ways you can apply this integration to real workflows.
Must read: The Science of Blocking Time: A Smarter Way to Work
Common Gmail Airtable Integration Use Cases
Once your Gmail–Airtable integration is in place, you can begin applying it to workflows that reduce friction and surface important information automatically. While the technical setup stays similar, the real value comes from tailoring it to how you work.
Client onboarding checklists: When a new client sends a confirmation or intake email, you can automatically generate a checklist in Airtable linked to that client. This ensures every onboarding step starts the moment the email hits your inbox, without waiting for manual setup.
Internal approvals and routing: If team members submit approvals or updates by email, those messages can trigger Airtable records that route to the right person or department. Paired with filters or keyword rules, you can segment updates into different views or boards automatically.
Editorial review queues: Writers or contributors often send drafts or pitches via email. Labeling or flagging those emails can create entries in an Airtable content pipeline, assigning status, deadlines, or editors in the process.
Scheduled follow-ups: Instead of setting calendar reminders separately, you can use changes in Airtable, like a “follow-up date” field, to trigger Gmail messages automatically. This is especially helpful for outreach, vendor communication, or partnership pipelines.
Stakeholder status reports: If you manage recurring reports or updates, Airtable can store status fields and notes, while Gmail automations send personalized email updates when records meet specific criteria, such as nearing a due date or changing status.
While there’s a lot you can do, it’s important to understand the boundaries and trade-offs of these tools.
Gmail Airtable Integration Limitations to Be Aware Of

While connecting Gmail and Airtable can streamline your workflow, it’s important to understand the limits of what these integrations can do.
No native integration: There’s no built-in, direct connection between Gmail and Airtable. Every automation must run through a third-party tool like Zapier, Make, or another integration platform. This means you’re relying on external services that may have limits on how often tasks run, how many records can be processed, or how detailed the automation can be.
Limited email formatting control: When you pull Gmail content into Airtable, especially the body of an email, formatting can be inconsistent. HTML-rich emails may lose structure, and long threads might be harder to parse. Some tools allow for minimal cleanup, but for complex email parsing, you may need additional steps or custom code.
Attachment handling requires extra steps: If your workflow depends on email attachments, like PDFs or images, you’ll need to set up additional logic to capture and store those files. Some automation tools support this, but you may have to use external storage solutions or URLs instead of embedding the actual files.
Trigger reliability depends on tool setup: If your Gmail label names change or your Airtable field names are edited, existing automations may break. Consistent naming conventions and occasional testing help avoid silent failures.
Free plan limits: Most integration platforms have usage caps on their free tiers. Zapier, Make, and others may limit the number of tasks per month, the frequency of updates, or the number of apps you can connect. If your workflows grow, you may eventually need a paid plan to maintain performance.
Knowing where the limits are helps you design better workflows. Now, here’s how to take the next step.
Conclusion and Next Steps
Gmail Airtable integration can turn your inbox from a scattered collection of messages into a structured, actionable system. Whether you're routing leads, logging support emails, or triggering follow-ups, the right integration setup helps reduce manual work and keeps your data aligned across tools.
With platforms like Zapier, Make, and others, setting up these workflows is accessible to anyone, no coding required. The key is to start simple, test often, and build around your actual workflow needs rather than trying to automate everything at once.
But integration is just one part of staying organized.
Once information flows into Airtable, the next challenge is making sure you act on it. If you're managing tasks across multiple tools, consider using a daily planning system like Akiflow that brings everything together. Akiflow connects with Gmail, Airtable, and other platforms to help you turn inputs into a focused plan for the day, all from one place. Try for free!
Start by automating one small workflow, see how it improves your process, and build from there.
FAQs
Q: Can Airtable integrate with Gmail?
A: Yes, Airtable can integrate with Gmail using third-party automation tools like Zapier, Make, or Relay.app. These integrations let you log emails, create records, or trigger actions in Airtable based on Gmail activity.
Q: Is the Google Gmail API free?
A: The Gmail API is free to use within Google’s usage limits, which are generous for most standard applications. However, extensive or commercial use may require a Google Cloud billing account or higher quota approvals.
Q: Is Airtable compatible with Google?
A: Airtable is compatible with several Google services, including Gmail, Google Sheets, and Google Calendar, through integration tools. These connections allow you to sync data and automate workflows between platforms.
Q: What is the Google equivalent of Airtable?
A: Google Tables (now part of Google Cloud’s AppSheet platform) was Google’s closest equivalent to Airtable. While not identical, AppSheet lets users build data-driven apps and workflows using structured tables and Google integrations.
Q: How to integrate email with Gmail?
A: To integrate email workflows with Gmail, use tools like Zapier or Make that can monitor inbox activity and trigger actions. For example, you can auto-forward specific emails into Airtable or trigger follow-ups based on email content or labels.


